
 EN
EN
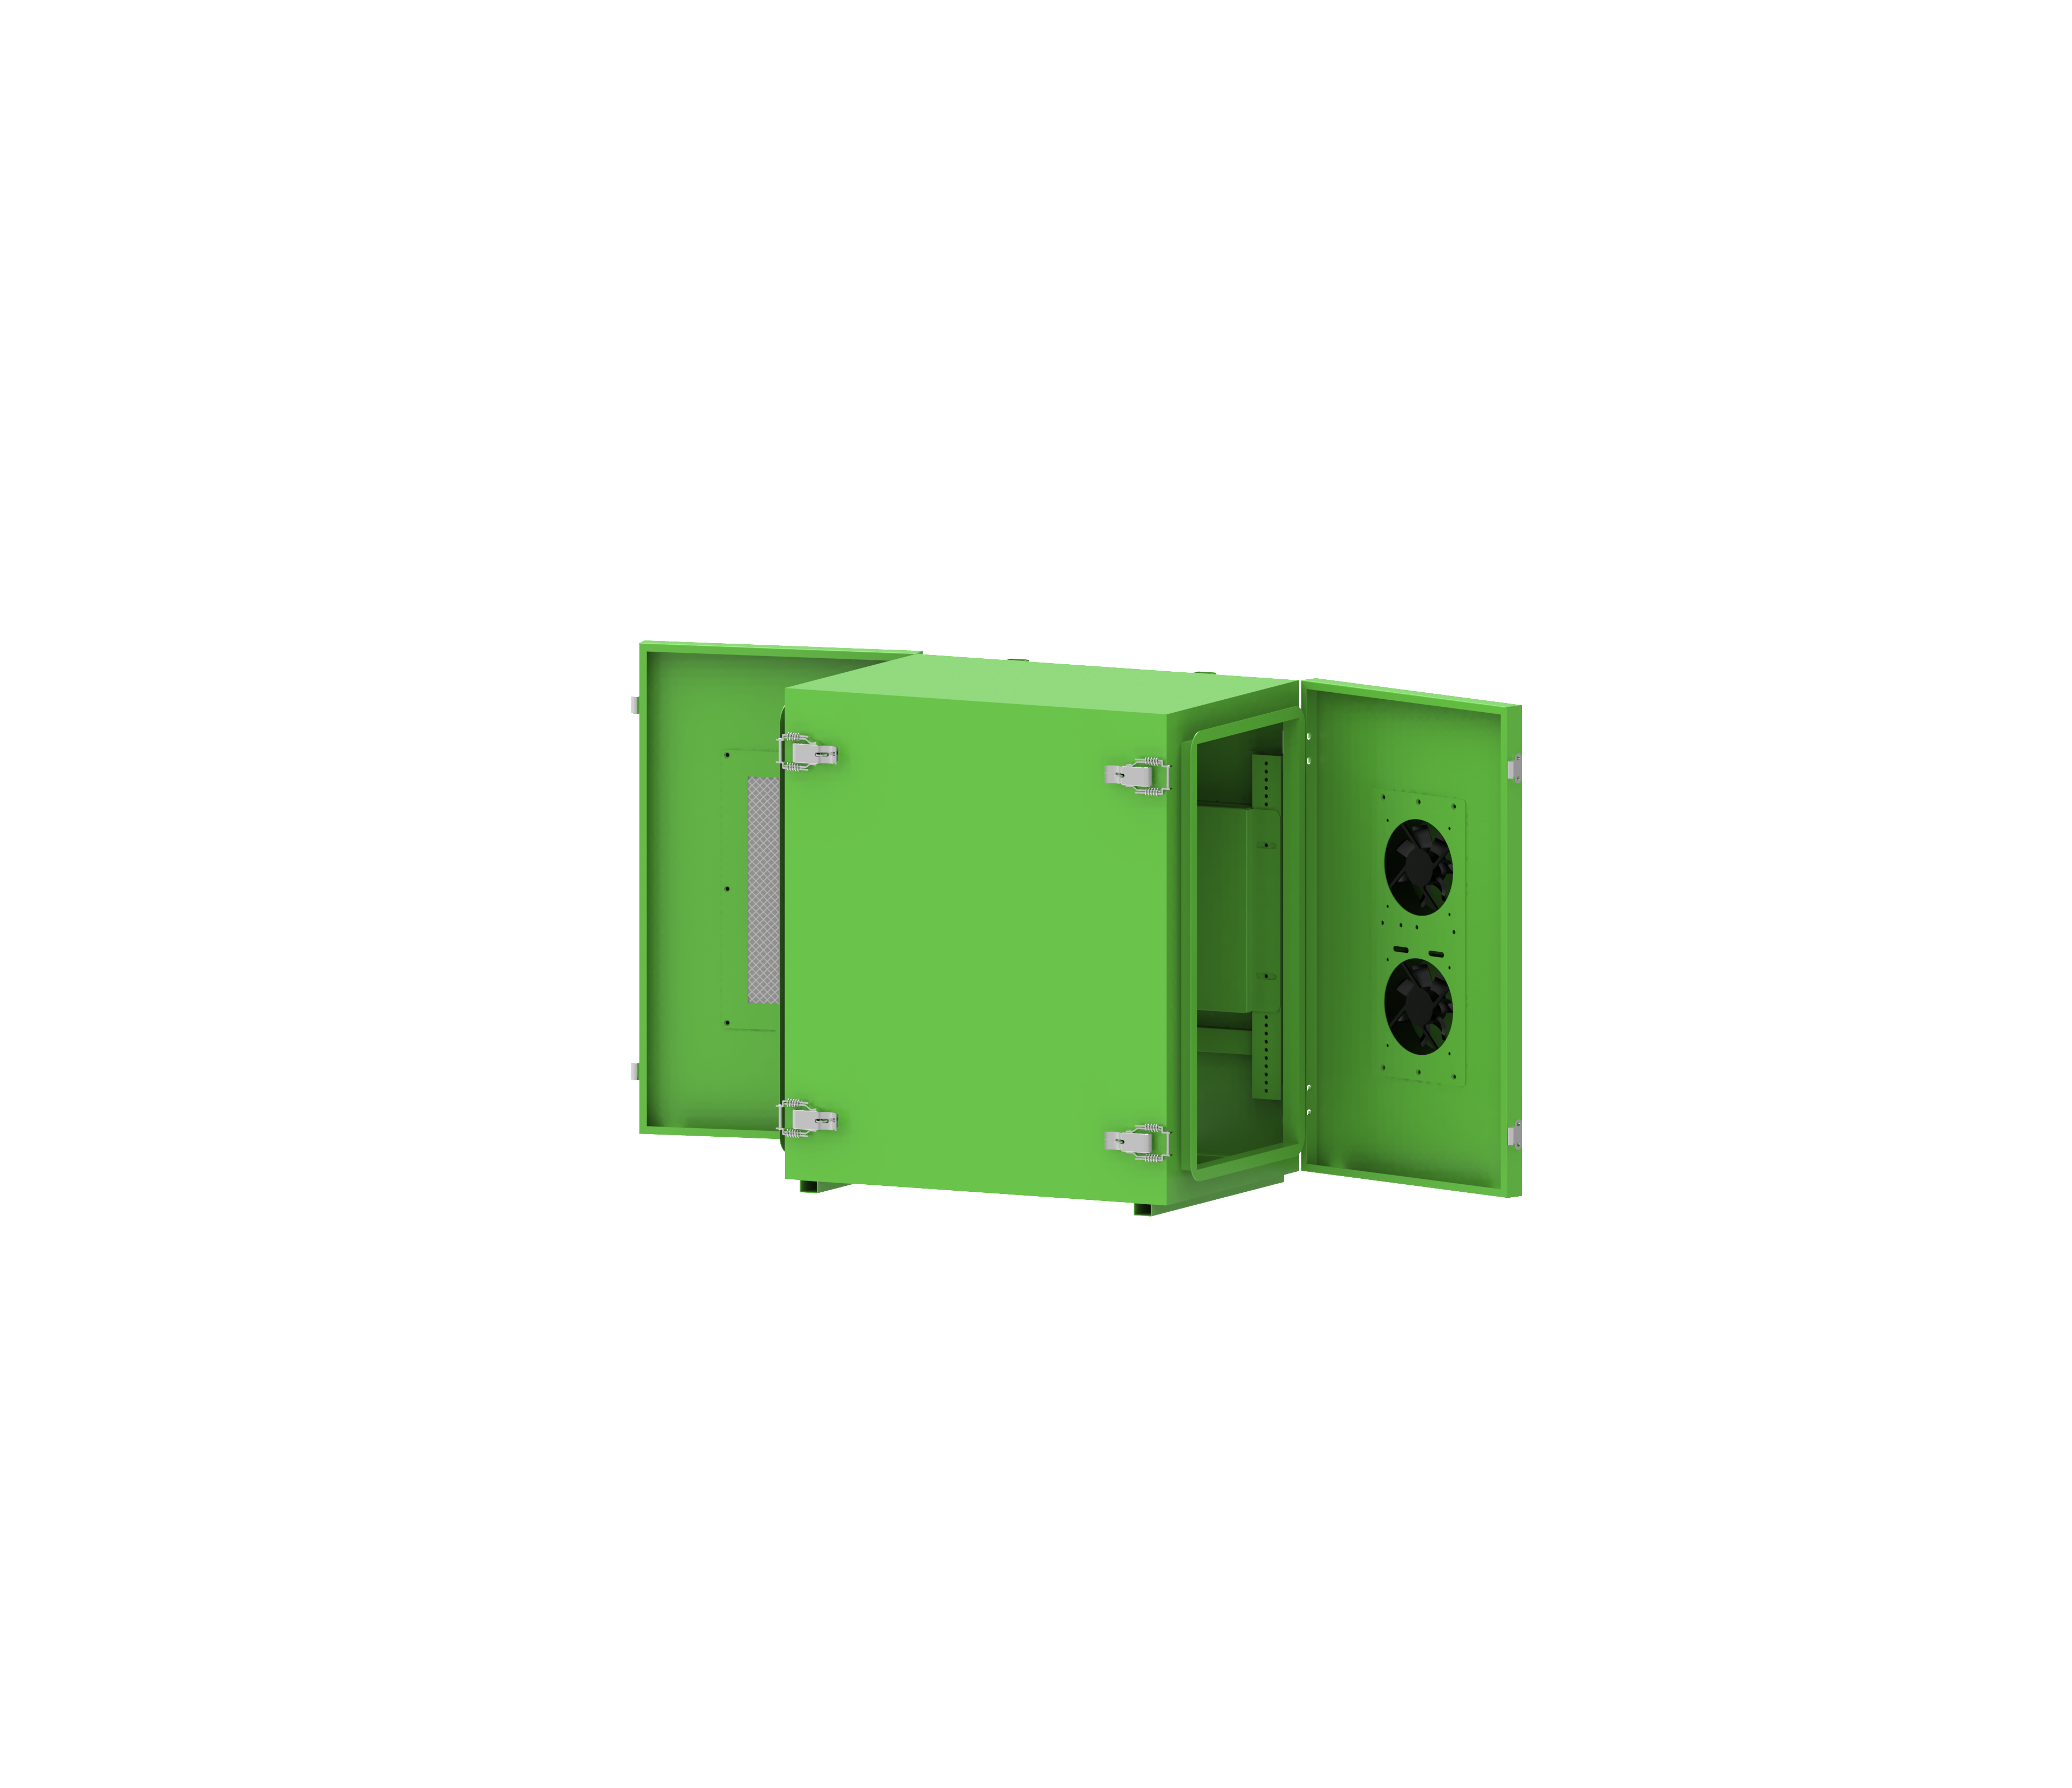
Installing an outdoor projector waterproof housing is one of the most critical steps in deploying a permanent or semi-permanent outdoor projection system. Whether you are setting up a large-scale venue display, an architectural projection installation, or a commercial outdoor advertising screen, protecting your projector from the elements is non longer optional — it is essential. A properly installed outdoor projector waterproof housing shields expensive projection equipment from rain, humidity, dust, and temperature fluctuations that would otherwise cause premature failure or costly downtime.
Yet many installation teams underestimate the complexity of mounting an outdoor projector waterproof housing safely and correctly. Errors in positioning, cable routing, ventilation planning, or structural anchoring can compromise both the housing's protective performance and the projector's long-term reliability. This guide walks through the full installation process in practical detail, helping technicians and project managers understand each phase — from pre-installation assessment to final commissioning — so that every deployment delivers the performance and durability the equipment is designed to provide.
Pre-Installation Planning and Site Assessment
Understanding the Installation Environment
Before any physical work begins, a thorough site assessment is mandatory. The location where you plan to install the outdoor projector waterproof housing must be evaluated for environmental exposure. This includes identifying the primary weather risks — whether the site faces heavy rainfall, high winds, coastal salt air, or extreme temperature cycles — since these factors directly influence mounting strategy and sealing requirements.
Assess the mounting surface carefully. The structure that will support the housing — whether a wall, a truss, a ceiling beam, or a dedicated pole — must be capable of bearing the combined weight of the housing and the projector inside it. Many professional-grade enclosures can weigh upwards of 20 to 40 kilograms when fully loaded, and dynamic wind loading adds additional stress. Confirming structural load ratings before drilling or anchoring is a non-negotiable safety step.
Solar exposure patterns also matter. An outdoor projector waterproof housing mounted where it receives prolonged direct sunlight may absorb more heat than its internal cooling system can manage during peak summer conditions. Identifying shaded positions or planning for supplemental shading structures can extend both equipment lifespan and projection quality during daylight or dusk events.
Reviewing Specifications and Required Tools
Study the technical documentation for your specific outdoor projector waterproof housing model before beginning. Manufacturers provide load specifications, mounting hole patterns, torque values for fasteners, and cable entry port dimensions that must be followed precisely. Deviating from these specifications — even with good intentions — can void warranties and create safety hazards.
Prepare all required tools in advance. Typical requirements include power drills with masonry or metal bits depending on the surface, torque wrenches set to manufacturer specifications, cable conduit tools, silicone sealant rated for outdoor UV exposure, and a spirit level for precise alignment. Having everything staged before work begins reduces the risk of improvised decisions during installation.
Ensure that the projector to be mounted inside the housing has been physically verified for fit. Internal dimensions of the outdoor projector waterproof housing must match the projector's footprint, and any optional bracket adapters should be test-fitted in a workshop environment before the housing goes up on its final mount.
Mechanical Mounting of the Housing Structure
Selecting and Preparing the Mounting Hardware
Mounting hardware selection is a decision that directly affects the long-term safety of the installation. For an outdoor projector waterproof housing, use stainless steel fasteners rated for outdoor exposure — standard zinc-plated bolts will corrode in humid or coastal environments and lose holding strength over time. M10 or M12 stainless steel bolts with lock washers are a common standard for mid-weight enclosures.
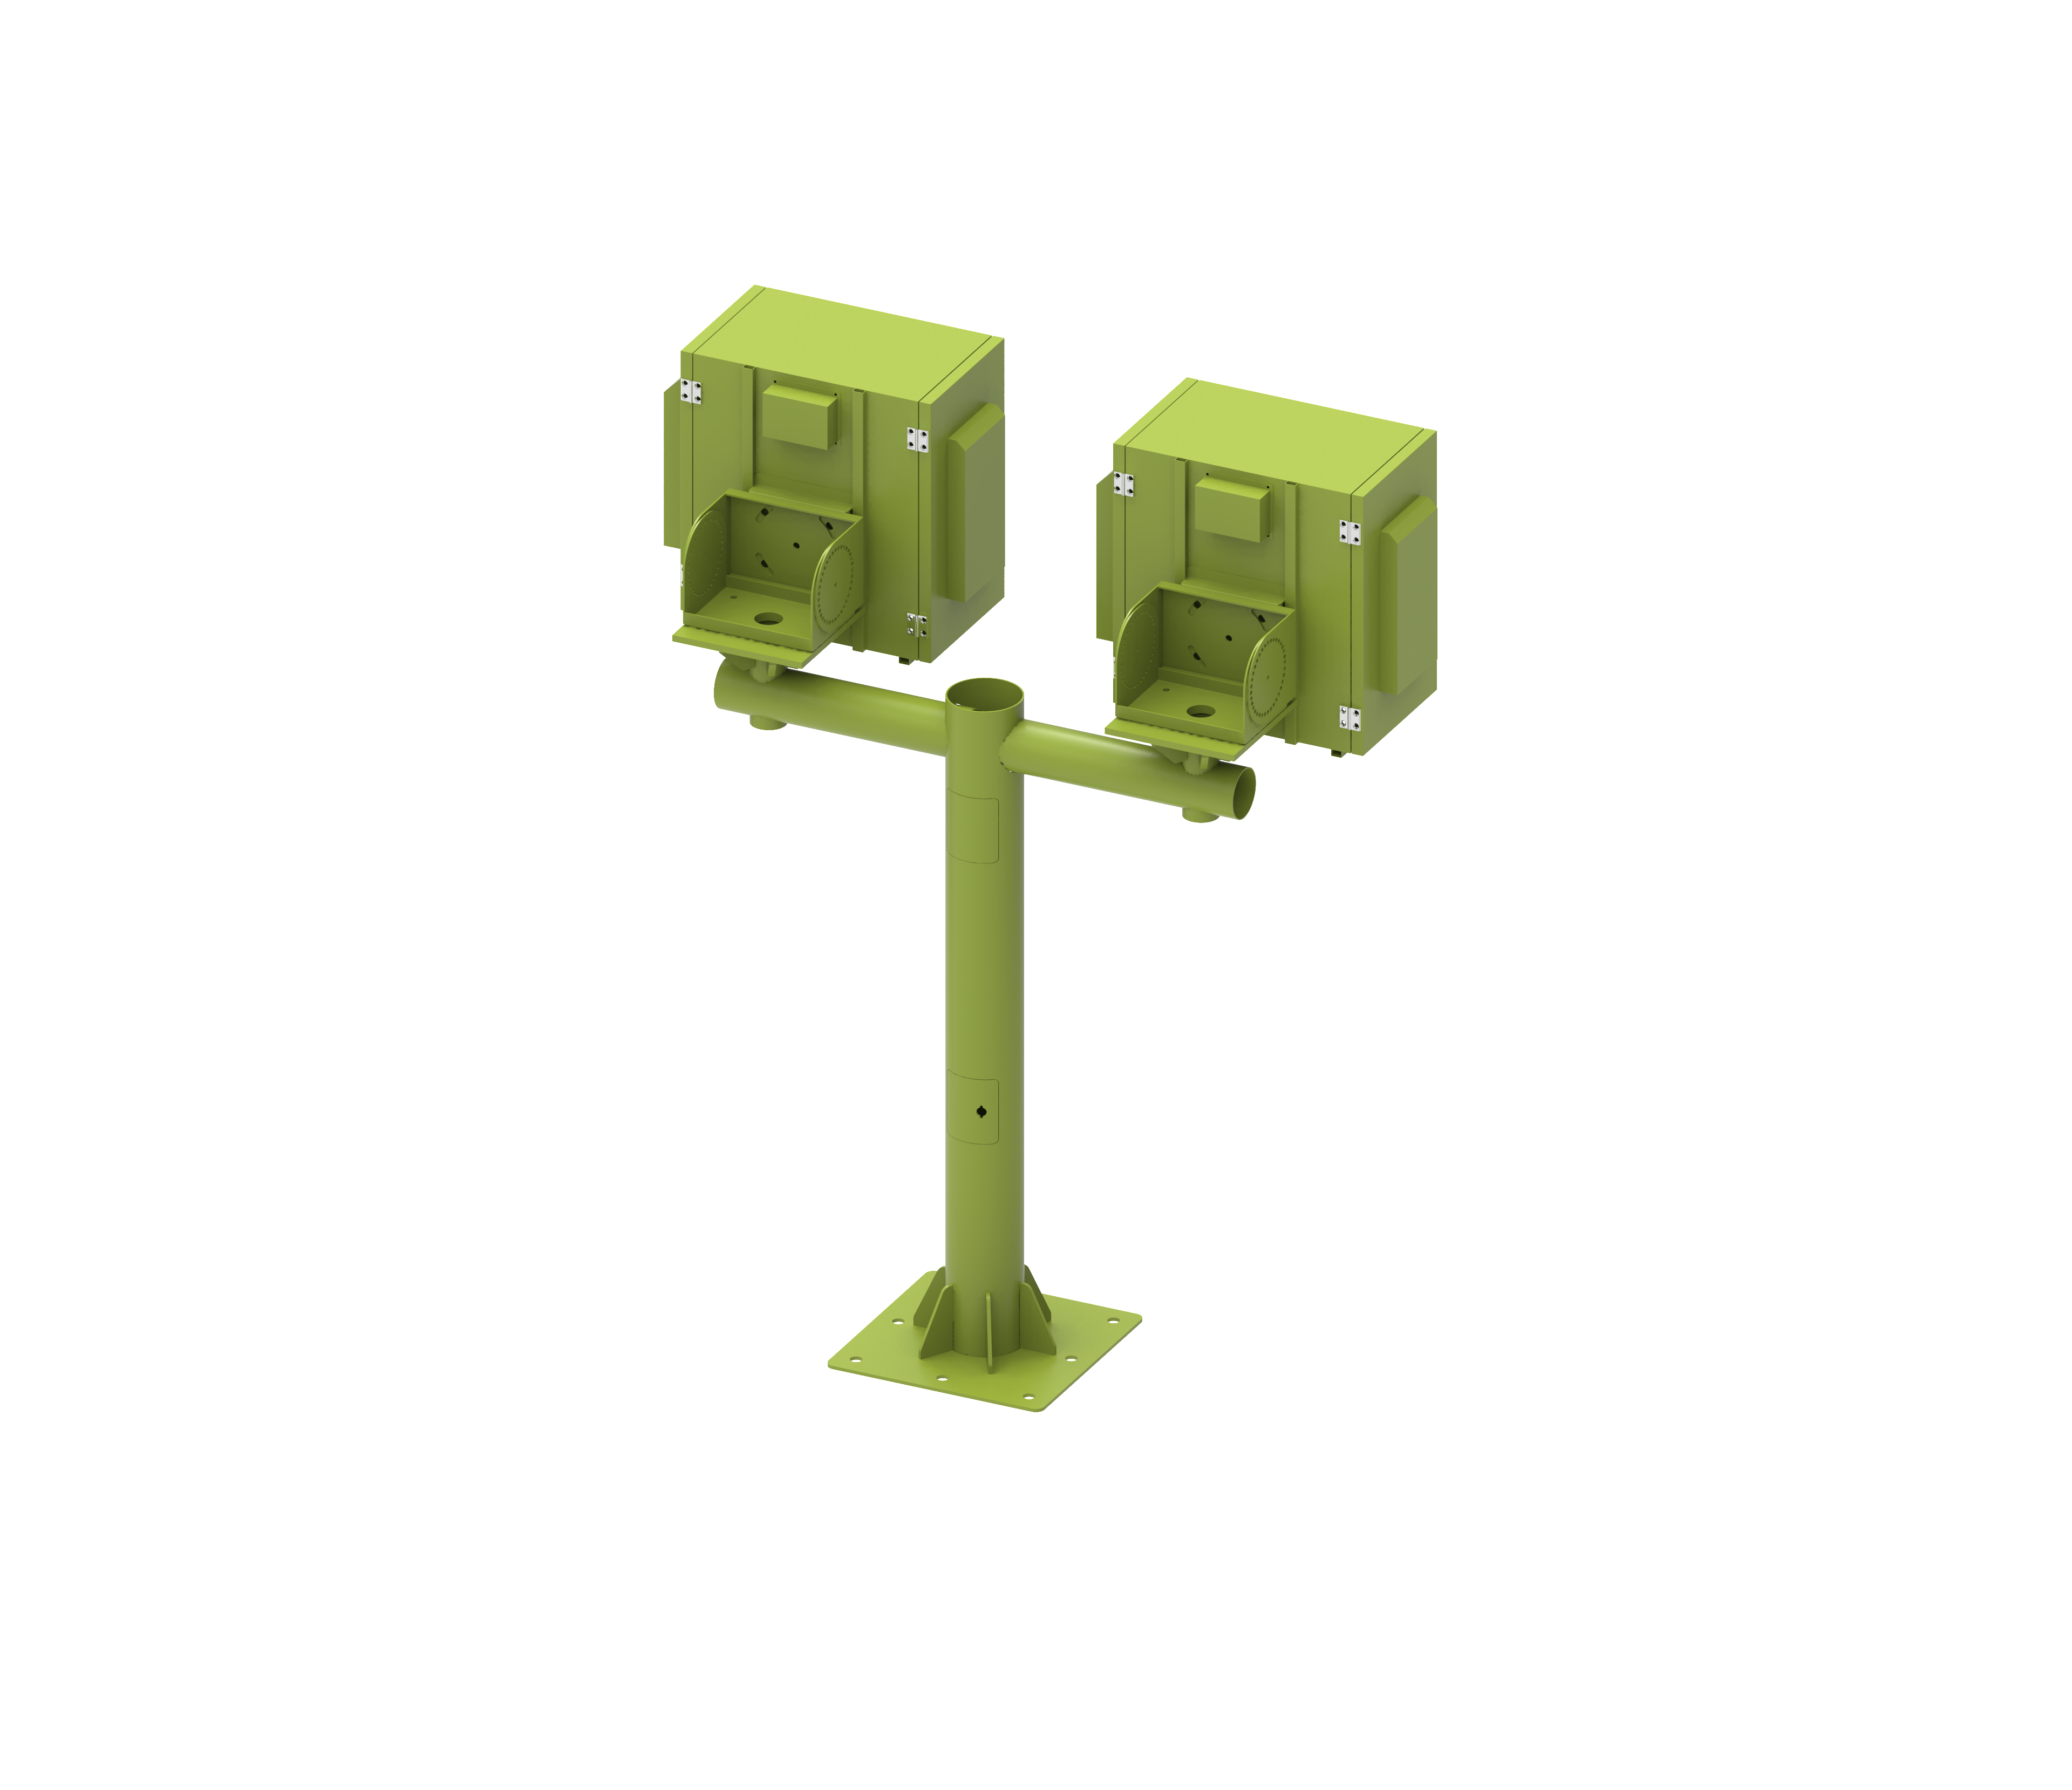
When mounting to masonry or concrete, use chemical anchor bolts or expansion anchors rated for the expected load. Raw plugs are insufficient for permanent outdoor installations carrying heavy equipment. For steel or aluminium structural members, through-bolting is preferable to surface-mounted screws, and a backing plate should be used wherever the contact area is limited.
Position the mounting bracket precisely using a laser level or spirit level before drilling. An outdoor projector waterproof housing that is mounted even slightly off-axis will require optical correction inside the projector, which can degrade image uniformity at the edges of large throw distances. Taking extra minutes to align the bracket accurately saves calibration time later.
Securing the Housing and Confirming Structural Integrity
Once the bracket is anchored, attach the housing to the bracket following the sequence specified in the installation manual. Most enclosures use a primary locking mechanism — typically a through-bolt pivot or a channel-lock rail system — that must be fully engaged before secondary locking fasteners are tightened. Skipping the primary lock and relying only on secondary fasteners is a common error that can allow the housing to shift under vibration or wind load.
After the housing is mounted, physically test it by applying lateral and vertical force by hand. There should be absolutely no movement, creaking, or flex in the connection points. If any movement is detected, identify and correct the cause immediately. A loose outdoor projector waterproof housing in an elevated position is a falling hazard and an insurance liability.
Document the completed mounting with photographs showing the full assembly, anchor points, and surrounding structure. This documentation is valuable for maintenance reference, insurance records, and compliance verification in regulated commercial installation environments.
Internal Projector Installation and Cable Management
Mounting the Projector Inside the Housing
With the housing securely fixed, the next phase is mounting the projector inside the enclosure. Open the housing access panel — typically a hinged or sliding front door — and confirm that the internal mounting rails or brackets are correctly positioned for your projector model. Many models of outdoor projector waterproof housing offer adjustable internal rails to accommodate projectors of different sizes and mounting hole patterns.
Secure the projector to the internal mounting system using the specified hardware. Do not overtighten fasteners on the projector's chassis, as this can warp the housing and misalign internal optical components. Use a calibrated torque wrench where torque values are specified. Once the projector is fixed, check that it sits level and that the lens is aligned with the housing's optical glass window without any physical contact between the two.
The lens of the projector must be positioned so that it does not touch the protective front glass panel of the outdoor projector waterproof housing. Physical contact between the lens and the glass will cause vibration damage over time and may introduce optical aberrations that are visible in the projected image. Maintain the clearance gap recommended by the manufacturer.
Routing Cables and Sealing Entry Points
Cable management is where many installations fail in terms of waterproofing integrity. Every cable that enters or exits the outdoor projector waterproof housing represents a potential ingress point for water and dust. Use only the designated cable entry ports — typically fitted with IP-rated cable glands or conduit connectors — and never create additional holes in the enclosure body.
Route power, signal, and control cables through the appropriate glands, ensuring that each gland is tightened firmly around the cable jacket to create a watertight seal. If using armoured cable or large conduit, confirm that the gland's inner diameter is correctly sized. Using an oversized gland with improvised packing is not acceptable for a rated installation.
Apply a thin bead of outdoor-grade silicone sealant around each gland entry point on the exterior surface as a secondary moisture barrier. Allow the sealant to cure fully according to the manufacturer's instructions before closing the housing. Inside the enclosure, ensure that cable runs are routed away from ventilation paths so that airflow for cooling is not obstructed. A well-managed cable layout inside an outdoor projector waterproof housing also simplifies future maintenance access.
Ventilation, Thermal Management, and Final Sealing
Configuring the Ventilation System
Professional-grade outdoor projector waterproof housing units incorporate active ventilation systems — typically centrifugal fans with filtered air intake ports — to manage the significant heat generated by high-brightness projectors. Confirm that the ventilation fans are correctly connected to power and that intake and exhaust filters are clean and correctly seated before closing the enclosure.
Check the orientation of the ventilation airflow relative to the projector's own cooling vents. The housing's internal airflow should supplement the projector's native cooling, not work against it. In most configurations, cool filtered air enters from the front or bottom of the housing and exhausted warm air exits from the rear or top. Reversing this flow by accidentally reversing a fan's polarity connection is an error to check carefully during commissioning.
If the installation site is in a region with very high ambient temperatures, verify that the housing's thermal management specification includes a thermostat-controlled fan speed controller or an internal heat exchanger. Operating a high-brightness projector inside an outdoor projector waterproof housing without adequate thermal management in hot climates will shorten lamp or laser source life dramatically.
Performing the Final Sealing and Closure Inspection
Before closing the housing for the final time prior to commissioning, conduct a full internal inspection. Confirm that no tools, debris, cable ties, or foreign objects have been left inside the enclosure. Even a small piece of metal debris can cause a short circuit or block a cooling fan blade during operation.
Inspect all door and panel seals — typically continuous EPDM rubber gaskets — for correct seating and any visible damage such as tears, gaps, or compression deformation. A compromised gasket on an outdoor projector waterproof housing will allow moisture ingress even if all other aspects of the installation are perfect. Replace any suspect gaskets before sealing the enclosure.
Close all access panels and tighten all latching mechanisms to the specified torque. Do not rely on a single latch to seal a large panel — use all provided latch points uniformly to ensure even gasket compression across the full perimeter of the seal. An unevenly compressed gasket will develop a weak point that moisture will exploit over time.
Commissioning, Testing, and Ongoing Maintenance Planning
Power-Up Sequence and Functional Verification
With the outdoor projector waterproof housing fully assembled and sealed, proceed to the commissioning phase. Apply power to the housing and ventilation systems first, before powering the projector, to ensure that cooling airflow is established before heat generation begins. Monitor the fan operation visually or via the control interface if the housing includes a monitoring module.
Power on the projector and allow it to reach its full operational state. Check the projected image for alignment, focus, and uniformity. Confirm that there is no optical interference caused by the housing's protective glass — any haze, reflection, or colour shift in the image may indicate contamination on the glass surface that must be cleaned from the outside before the installation is accepted.
Use an outdoor projector waterproof housing that is rated to the IP65 standard or higher for truly exposed outdoor environments, as this rating confirms the enclosure has been tested against sustained water jets from any direction — a critical specification for installations exposed to wind-driven rain. Verify the rating on the product documentation and confirm it applies to the fully assembled and sealed enclosure, not just the housing body alone.
Establishing a Preventive Maintenance Schedule
A correctly installed outdoor projector waterproof housing is not a set-and-forget solution. Developing a preventive maintenance schedule at the time of installation is a professional responsibility that protects the investment in both the housing and the projector. Quarterly inspections are a reasonable baseline for most outdoor environments, with monthly inspections recommended in harsh coastal or industrial environments.
During each inspection, clean the intake and exhaust filters, inspect door and panel gaskets for wear, check the condition of cable glands and sealant on exterior cable entries, and verify that all mounting fasteners remain at the correct torque. Also clean the external optical glass to remove accumulated dust, bird droppings, or environmental film that reduces transmitted light output over time.
Record all inspection findings and maintenance actions in a log. This documentation supports warranty claims if component failures occur and provides a trend record that allows teams to predict when consumable components — such as filters, gaskets, and lamp sources — are likely to need replacement. A well-maintained outdoor projector waterproof housing installation can deliver reliable performance for five to ten years or more when managed proactively.
FAQ
What IP rating should an outdoor projector waterproof housing have for permanent outdoor installation?
For permanent outdoor installations exposed to direct rainfall and weather, the outdoor projector waterproof housing should carry a minimum IP65 rating, which certifies protection against dust ingress and sustained water jets from all directions. For installations near water features or in extremely wet climates, IP66 or IP67 ratings offer higher protection margins. Always verify the IP rating applies to the fully assembled unit with all cable glands and access panels properly sealed.
Can the outdoor projector waterproof housing be mounted at any angle?
Most outdoor projector waterproof housing designs support a range of vertical tilt angles, and some models support full 360-degree rotation on the mounting bracket. However, the mounting angle affects both the drainage of water from exterior surfaces and the internal airflow dynamics of the cooling system. Always check the manufacturer's specified mounting angle range and note any restrictions on upward-facing or extreme downward-facing orientations that may trap moisture or impair ventilation.
How often should the filters inside the outdoor projector waterproof housing be cleaned?
Filter cleaning frequency depends on the local air quality and the amount of airborne particulate matter at the installation site. As a general guideline, inspect filters monthly for the first three months of operation to establish a baseline for how quickly they accumulate contamination. In clean suburban environments, quarterly filter cleaning is typically sufficient. In dusty, industrial, or agricultural environments, monthly cleaning is advisable. A blocked filter in an outdoor projector waterproof housing will cause the internal temperature to rise and may trigger the projector's thermal shutdown protection.
Is it necessary to hire a certified electrician to install the outdoor projector waterproof housing?
In most jurisdictions, connecting an outdoor projector waterproof housing to a permanent mains power supply requires work by a licensed electrician. This is both a legal requirement and a practical safety necessity, as outdoor electrical installations must comply with local wiring regulations that specify weatherproof conduit, appropriate circuit protection, and earthing standards. The mechanical mounting and internal projector installation can typically be performed by trained AV installation technicians, but the electrical connection to the power supply should always be completed and certified by a qualified electrical contractor.
Table of Contents
- Pre-Installation Planning and Site Assessment
- Mechanical Mounting of the Housing Structure
- Internal Projector Installation and Cable Management
- Ventilation, Thermal Management, and Final Sealing
- Commissioning, Testing, and Ongoing Maintenance Planning
-
FAQ
- What IP rating should an outdoor projector waterproof housing have for permanent outdoor installation?
- Can the outdoor projector waterproof housing be mounted at any angle?
- How often should the filters inside the outdoor projector waterproof housing be cleaned?
- Is it necessary to hire a certified electrician to install the outdoor projector waterproof housing?